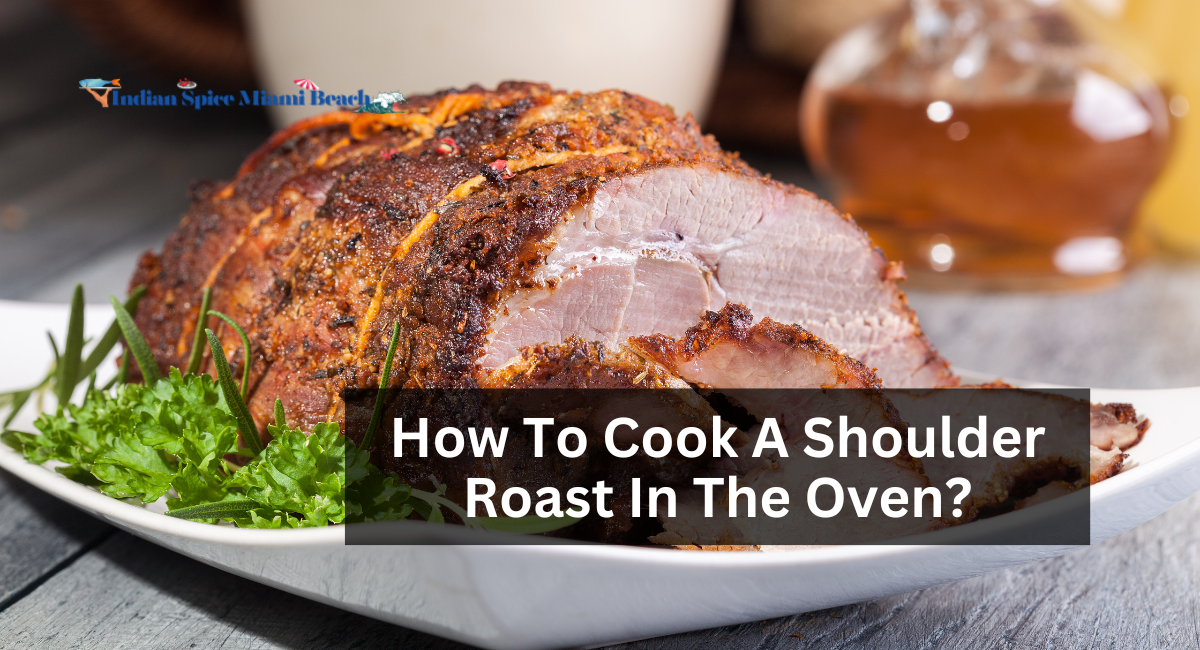
A shoulder roast prepared in the oven undergoes a gastronomic metamorphosis, converting a challenging portion of meat into a delectable work of art. Whether you are organizing an intimate family supper or a grand social event, the utilization of the oven technique ensures a delectable and delicate outcome that will insatiably entice your guests. This article, will explain how to cook a shoulder roast in the oven.
How Long Do You Cook A Pot Roast For In the Instant Pot?
Contingent upon the dimensions of the preparation. 75 to 90 minutes is an approximate estimate for each pound of meat. To achieve a meat with a tender interior and a crisp exterior, it will be briefly roasted over high heat before being gradually roasted for the remainder of the cooking time. Begin cooking slow-cooked oven meats at 450 degrees for twenty minutes at that elevated temperature. Reducing the temperature to 240 degrees.
Ingredients
- Shoulder roast of pork or beef (approximately 3 to 4 pounds)
- Pepper and salt, to flavor
- Two tablespoons of extra virgin olive oil
- Chopped scallion, 1
- 3 minced garlic cloves
- 1 cup vegetable or beef bouillon
- Red wine, 1 cup (optional)
- One tablespoon of dehydrated herbs, including rosemary, thyme, or oregano
- Two bay leaf
- Select vegetables (carrots, potatoes, and parsnips are all viable options)
Equipment
- Rack for Roasting Aluminum Brush for basting foil
- Fork knife used to shred or carve
How To Cook A Shoulder Roast In The Oven?
Instructions
1. Preheat The Oven
Before beginning, preheat the oven to 325°F (163°C). It is essential to preheat in order to achieve a consistent and uniform culinary temperature.
2. Season The Roast
Apply paper napkins to the shoulder roast in order to dry it. This process aids in attaining an improved sear. Salt and pepper the meat generously, making certain that each side is thoroughly saturated.
3. Sear The Roast
Olive oil is heated in a large Dutch oven or roasting pan that is oven-safe over medium-high heat. By sear-frying the roast on all sides, a flavorful crust is produced and the liquids are sealed in.
4. Add Aromatics
To the pan, add the minced garlic and diced onion. By sautéing the onion until it attains a translucent appearance, aromatic flavors that will augment the overall flavor of the roast are released.
5. Deglaze The Pan
Deglaze the pan with the beef or vegetable broth and red wine (if desired), making sure to scrape any caramelized residue from the pan’s bottom. These delectable caramelized flavors are incorporated into the simmering liquid via this method.
6. Add Herbs And Bay Leaves
Add the dried herbs, such as oregano, rosemary, and thyme. The addition of bay leaves enhances the aromatic profundity. While cooking, these herbs impart savory undertones to the roast.
7. Roast In The Oven
To entrap moisture, cover the container with a lid or aluminum foil. After preheating the oven, permit the roast to cook for a considerable duration of time, around 3 to 4 hours. By cooking the shoulder roast slowly at a reduced temperature, the stiff fibers are broken down, resulting in tenderness.
8. Add Vegetables
One hour prior to the completion of the roast, incorporate the vegetables of your preference into the frying pan. Carrots, parsnips, and potatoes are all superb alternatives. These vegetables become a delectable side dish as they absorb the roast’s fragrant juices.
9. Check For Doneness
Employ a meat thermometer to determine the roast’s internal temperature. Aim for 145-160°F (63-71°C) for beef, and a minimum of 145°F (63°C) for pork, depending on the desired doneness.
10. Rest
After roasting, permit the meat to cool for ten to fifteen minutes prior to dividing. Amidst the flesh, this period of rest facilitates the redistribution of juices, thereby guaranteeing a succulent and palatable result.
11. Optional Gravy
Strain the pan drippings, remove any excess fat, and utilize the flavorful liquid to make a delectable gravy, if desired. For increased viscosity, flour or cornstarch may be utilized.
12. Serving Suggestions
Your shoulder roast of flawlessly cooked beef is now ready to be served. Here are some suggestions for delectable servings:
- Complement the roast with steamed vegetables and creamy mashed potatoes for a traditional and comforting entrée.
- Succulent sandwiches can be fashioned using the shredded beef shoulder roast, complemented by preferred condiments and crisp vegetables.
- For a flavorful variation, use the tender beef as a topping for nachos and garnish with sour cream, cheese, and guacamole.
- For delectable tacos, place the beef on a toasty tortilla and garnish with cilantro, salsa, and a squeeze of lime.
Tips
- Choose the Right Cut: Choose a shoulder roast that has been expertly marbled to achieve optimal flavor and tenderness.
- Room Temperature Roast: To achieve more uniform results, allow the roast to reach room temperature prior to heating.
- Pat Dry Before Seasoning: Pat dry the roast prior to marinating in order to facilitate a more effective sear.
- Sear for Flavor: For a rich, caramelized crust, do not hurry this step; searing adds depth.
- Low and Slow: To attain tenderness, roast at a reduced temperature for an extended duration.
- Use Aromatics: Avoid omitting aromatics such as wine, garlic, onions, and herbs; they enhance the flavor of the roast.
- Baste Occasionally: Basting periodically maintains the roast’s moisture content; do so every hour while it is simmering.
- Rest Before Slicing: Prior to slicing, the roast should be allowed to rest in order to preserve its fluids.
- Adapt Vegetables: Propose a variety of vegetable combinations in order to create a varied side dish.
- Gravy Enhancement: Transform pan drippings into a delectable gravy to augment flavor.
Not only does one need to adhere to a recipe to master the art of cooking a shoulder roast in the oven, but each step also requires the application of affection and diligence. By employing the oven method, this cut is transformed from merely marinating to roasting, resulting in a delectable dish that will undoubtedly earn a permanent place in your culinary repertoire.